

Skill Anatomy is a free Agent Skill (MIT license) that runs in Claude Code (Anthropic): you ask a question like "how does an espresso machine create pressure?", and Claude builds the answer into a real machine using isometric graphics, with buttons for each step, window panes looking into the working parts, and every number on screen comes from a single calculation model. According to Elvar Sun (@elvar_official, X post on 18/10/2026, over 313 thousand views on X), this skill was written by wheresryan22, and takes only about 10 minutes to produce an interactive espresso machine. This post rewrites that guide in Vietnamese, with two videos and a cover image from the original post, and compares the GitHub code repository as of 23/10/2026.
Lever espresso machine: runs through each step from grinding to pouring milk, 36 seconds. Video: Elvar Sun, from the original X post.
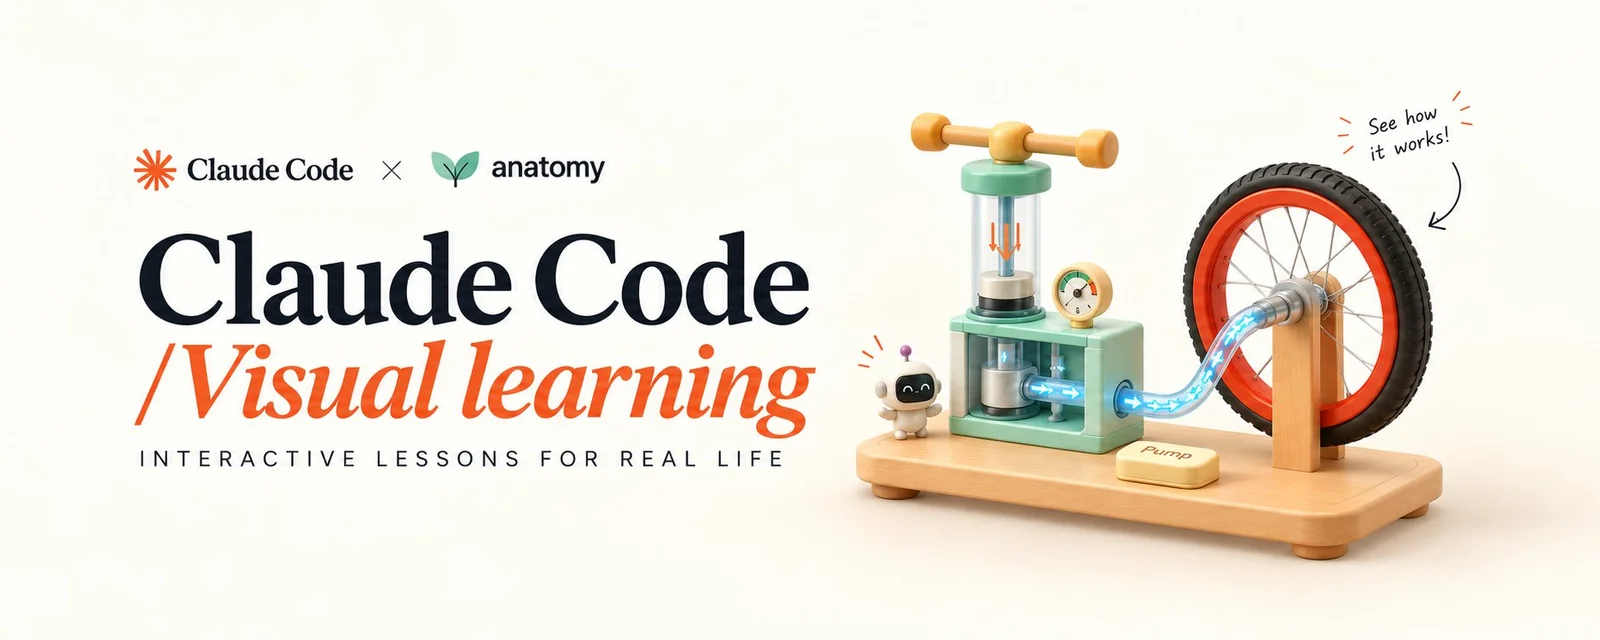
Cover image of the original post: Claude Code and the anatomy skill. Image: Elvar Sun.
What is Skill Anatomy?
Anatomy is an Agent Skill (a directory with a SKILL.md file following the agentskills.io open standard) that helps Claude explain an idea by building it into a working object. According to the README, when you ask Claude to draw a diagram explaining a technical concept, Anatomy makes it invent an object where the way the object operates is itself the concept: for example a lock with pins that only turns when all pins align, to illustrate a memory buffer lock.
The wheresryan22/anatomy repository (GitHub, checked 23/10/2026) has around 19,350 stars, MIT license, last updated 18/10/2026, described as a skill that creates detailed interactive isometric diagrams of machines and complex systems, outputting SVG and optionally WebGL or 3D. It runs in Claude Code and according to the README also works in Antigravity, OpenCode, Codex and MiniMax Code. If you're new to the skill concept, see What is MCP? for a picture of how agents use outside tools.
What does an "interactive machine" consist of?
Each diagram is a standalone HTML page, opened in a browser on a computer or tablet, and according to the original post's author every diagram has the same six parts. For example on the espresso machine:
- The machine: a familiar object built from many small details: bolts, gauges, trays, a scale under the cup.
- The buttons: one button per step, in order, so only the next button works and no one skips an important part. A mode switch: Manual waits for each press, Auto runs on its own in a loop.
- Window panes: a cross-section into where the work happens; on the espresso machine, a window shows the piston, spring and water inside the group head.
- The numbers: gauges, screens on the machine and chips below: coffee dose, steam boiler, brew pressure, grams in cup, brew time, milk temperature; all coming from one model of the real machine.
- Text: a hint for each step at the top, plus sound effects drawn right on the action like grrrr, tok, psssh, knock.
- The big idea: a sentence below the diagram, like "the spring creates the pressure".
The same process for many machines: espresso machine, car engine, washing machine, microwave, smoke detector, prize vending machine. Video: Elvar Sun.
What do you need to set up to use Anatomy?
You need Claude Code, Node.js, Chrome, and for the video section at the end you also need ffmpeg and Python 3. According to the original post:
- Claude Code on a Claude plan that includes Claude Code.
- Node.js 22.20 or higher (the original post states the skill installer requires this). The skill README says the skill needs Node 20.10 or higher, uses only built-in modules, no
npm installneeded; go with the higher number if the installer says so. - Google Chrome: the skill auto-checks using a headless browser; the README shows scripts to find Chrome or Chromium in common places on macOS, Linux, Windows, and you set
CHROME_PATHif you use a different build. - ffmpeg and Python 3: only for the video section at the end; Claude Code will install them for you if you ask.
Step 1: Install the skill and choose a question
Install using the skill installer then type /anatomy in Claude Code. The command matches the project README:
npx skills add wheresryan22/anatomy -g -a claude-code
No npm? Clone directly into the skills folder:
git clone https://github.com/wheresryan22/anatomy.git ~/.claude/skills/anatomy
The best questions are ones with a moving part and a number. The author suggests five unanswered questions: how a toilet refills after flushing, how bike gears make pedaling easier, how a key opens a lock, how an elevator stops at the right floor, and how compound interest grows when depositing 100 USD each month. Pick a question you haven't answered yourself yet.
Step 2: Brief Claude to build the machine
Paste a command into Claude Code and replace every part in square brackets. This is a shortened translation of the author's original command:
/anatomy Someone asked me: "[How does an espresso machine make coffee?]"

Answer with a machine, not a diagram. Build a [real lever espresso machine with a grinder beside it, filter handle, tamper, milk pitcher and cup on a scale], made from many small details, isometric view, as a standalone HTML page.

Steps are buttons stacked in a left column: [Grind 18 g] [Tamp] [Lock in] [Pull lever] [Release] [Steam milk] [Pour] [Fresh cup]. Only the next step is clickable. Each button runs that step right on the machine.

Cut a window into the place where the real work happens [group head: piston, spring and water inside]. Viewers see cause and effect at once.

Write a small model of the real thing ...
The end of the command in the original post asks for a pure calculation model so every number reads from it. The author explains why this approach lasts:
- Model before drawing: clock, scale and timer all read from one function so they can't contradict each other. His own prints self-check when building: one shot 27.0 seconds, first drop at 5.4 seconds, yield 36 g.
- One big idea: if you can't say it in one line then the drawing explains two things and neither one lands.
According to the author, all his other machines come from this same command with new square brackets.
Step 3: Make it understood at a glance
Step 3 is making the machine understood at a glance. The test, according to Elvar Sun, is a seven-year-old child: if a hint a child grasps after one read makes an adult understand in half a second, then you have it. The original command sent to Claude (Anthropic) sets five requirements:
- One short hint on each step above, simple for a seven-year-old: what is happening and why.
- Large pill buttons with a number in a circle; running step glows, finished step fades.
- Handwritten script lettering on each action.
- Speed label when a step runs faster or slower than real time (×4, ×1/20), calculated from real seconds.
- Two-mode switch: Manual default (nothing moves until someone clicks, next button blinks) and Auto (machine runs in loop), remembers choice between visits.
Example from the post on 10/18/2026: real shot 27 seconds but runs 6.5 seconds so the label reads ×4 while the timer still shows 27 seconds; car engine goes the opposite way, 800 revs per minute at idle, runs at ×1/20.
Step 4: Create visual style
The author's style command describes a children's book drawn in ink rather than a technical drawing: navy ink outline stroke 1.2 px thick, flat color with three tones for each hue (top lightest, sides darker), cream paper background #f5f0e5, one bright color for each object, chrome and brass metal, a color swatch below to change the machine color, and warm gray drop shadow short, hard #ddd4c3 right behind each object, never blue or purple. Every knob, screen and label must sit on the face with nothing blocking it.
The author says each line here is an edit: the first version had long purple shadows and a clock hidden by the group head. See that as learning: each visible mistake becomes a rule line.
Step 5: Have Claude Self-Check Like a Critic
Step 5 is having Claude self-critique the work like a critic before showing it to you. This is a translation of the original command from Elvar Sun's post on 18/10/2026:
Before you show me anything, check like a critic:
1. Take a frame in the middle of each step and read each image: details hidden behind other details, text overflowing cells, numbers not matching the model.
2. Scan any motion longer than 1 second with 0.1 second steps and count the pixel changes each frame. Any frame that changes 3 times more than neighboring frames is glitchy: find and fix it.
3. Slow motion must be continuous. Never jump between pre-drawn poses in motion longer than one second.
Tell me what you've checked and fixed. Show me the screenshots.
According to Elvar Sun, rule number 2 caught the worst errors: in one frame, a single corner, the lever launches into a giant black disk. A normal frame when the lever lift changes from 900 to 1,400 pixels, but the error frame changed 95,245. After fixing, according to Elvar Sun, he scanned all 612 frames of the lift motion and no frame still glitched. This is the author's data, not independently verified, but the method of counting pixel changes between frames is something you can reuse for any animation.
Step 6: Turn Into Video and Add Music
Make the video following three consecutive commands, according to the original post:
- Make the tour recordable: add
window.seek(t)to replay everything from start to time t to draw any frame in any order; when the URL has?renderthe page stops its own clock; draw the cursor going to each button and click before the step starts; cut the whole tour down to 36 seconds, 0.7 seconds between steps, first click at 0.9 seconds, main step still slowest. - Record: open the page with
?renderin Chrome headless, callwindow.seek()for each frame at 60 fps, size 1500 × 1320, capture each frame then push into ffmpeg as H.264, yuv420p, faststart; then make a composite image every 3 seconds one frame to review. - Mix music: request self-composed in code, don't use copyrighted templates: 36-second lo-fi background music at 84 BPM with soft electric piano over Fmaj7, Em7, Dm7, Cmaj7 chords, round bass, brush drums after the first beat and vinyl crackle; on top are soft sounds timed to the image (click each button press, grinder sound, steam, espresso drops), balance at -14 LUFS, true peak under -1 dB, splice into video with ffmpeg.
The author explains: screen recording drops frames during slow motion, but the seek-based tour always comes out at 60 fps; his version has 2,160 frames, 36 seconds, 4.5 MB.
Make Batches and Put Them on a Website
When one animation runs well, Claude Code builds the rest in parallel, each machine one agent. The most important point is to give each agent one separate fact to prove, with real numbers: one agent only gets the command "make a microwave" will draw a box with a disk inside, but the agent assigned "measure the speed of light with a chocolate bar" must draw standing waves. Example the author gives: a microwave measuring the speed of light from two melt points on a chocolate bar 6.12 cm apart. Each agent works in its own folder, doesn't edit shared files and self-checks screenshots before reporting back.
When you have two or three animations, put them on one page: homepage has each animation one card (the most beautiful image, name and one line saying what question it answers), each animation its own page with navigation bar, arrow keys change machine, space or Enter runs next step, 1200 × 630 preview image for each page with absolute image path so the card shows up when shared on X, external links open new tab, then deploy to Vercel. According to the author, the text under each card is what sells.
Bonus: add a slider (for example coffee dose from 9 to 22 g) and rerun the model when dragging, so viewers can break the machine and see for themselves what each number does.
What Are Skill Anatomy's Limitations?
The project README spells out the constraints:
- Not a charting library: no axes, data series or graphs; numbers appear as tables read by model and size, actual quantities of details.
- Only draws machines, tools, equipment: doesn't draw people or accurate maps; ideas without a mechanism to build will come out weaker.
- Intentionally slow: one figure takes a whole working session: detail lists, geometry, checks and close-ups of every joint on both interfaces; the Raptor engine takes a few minutes, while full 3D trajectory checks take 15 to 20 minutes for 30 details.
- Effects need WebGL: without WebGL SVG still renders, and when motion reduction is on every figure stands still.
- 3D mode still beta: only proven on one example and one test figure, not yet on production figures.
The original post also listed the author's view counts (122,818 for a pump tire lesson, 110,691 for a washing machine) which we haven't verified. The author's visual-learning.app page, as of 23/10/2026, lists 30 machines (the original post said 12 when posted), viewable free to try clicking.
OPCAIOS's Experience
OPCAIOS hasn't run Anatomy yet; this post is based on the original, the repository README and checking visual-learning.app. Two things align with how we make images for the blog: diagrams and cover images are also built by code (write HTML then screenshot with Chrome headless), and one lesson worth repeating is the self-check step: have AI take screenshots, read each one and fix before you see it. If you're interested in video built by code, see Making motion graphics with Claude Opus 5.5 and Motion engineering with Claude Opus 5.5.
Frequently Asked Questions
What is Skill Anatomy from Claude Code?
A free (MIT) Agent Skill that helps Claude turn answers into an interactive isometric machine with step-by-step buttons, windows into main parts and numbers pulled from a calculation model.
How do I install Anatomy?
Run npx skills add wheresryan22/anatomy -g -a claude-code, or clone the repository into ~/.claude/skills/anatomy, then open Claude Code and type /anatomy with your question. Needs Node.js, Chrome; ffmpeg and Python 3 only for the video part.
Is Anatomy free and which agents can it run on?
Free, MIT licensed, no paid dependencies. Written for Claude Code and according to the README also runs on Antigravity, OpenCode, Codex and MiniMax Code; you still need the package to use your agent.
What kind of content can Anatomy draw?
Machines, tools, equipment and systems with mechanisms to build; not charts, people or accurate maps. Ideas without a mechanism will come out weaker.
Where do I start using Anatomy for teaching or content?
Start with a question that has moving parts and a number. First, pick a question you can't answer yourself yet, like "how does an elevator stop at the right floor". Next, have Claude (Anthropic) build a machine with the /anatomy command per Steps 1 and 2 above. Then have Claude take screenshots himself and check each step like in Step 5, then fix where details are hidden or numbers don't match the model. Finally, only share once you've clicked through both Manual and Auto modes. Per Elvar Sun's original post (18/10/2026), one espresso machine took about 10 minutes; OPCAIOS hasn't run Anatomy yet so we haven't verified that number. Want to learn applying AI to work, see OPCAIOS's AI application training course.
Source: Elvar Sun's post "How I Turn Any Question Into a Machine You Can Run" (@elvar_official) on X, x.com/elvar_official/status/2111831136171151589, posted 18/10/2026; video and cover image from the original by request, belong to the author; this is a Vietnamese retelling. Repository wheresryan22/anatomy (README, license, limits, install command) and visual-learning.app checked 23/10/2026. View counts and test numbers in the original post are the author's, unverified; OPCAIOS hasn't run Anatomy yet.
Translated from Vietnamese with AI. Read the original.
Want to apply this in your business?
Book a free 30-minute call (Vietnam time, in English or Vietnamese).